Submission Guideline
This article will explain the submission process from start to finish.
Firstly you need to make "Circle Registration," or exhibitor group registration, in your Mypage on the website. Then, you'll need to set up Unity2019 project on Unity application, import necessary packages, and submit your data.
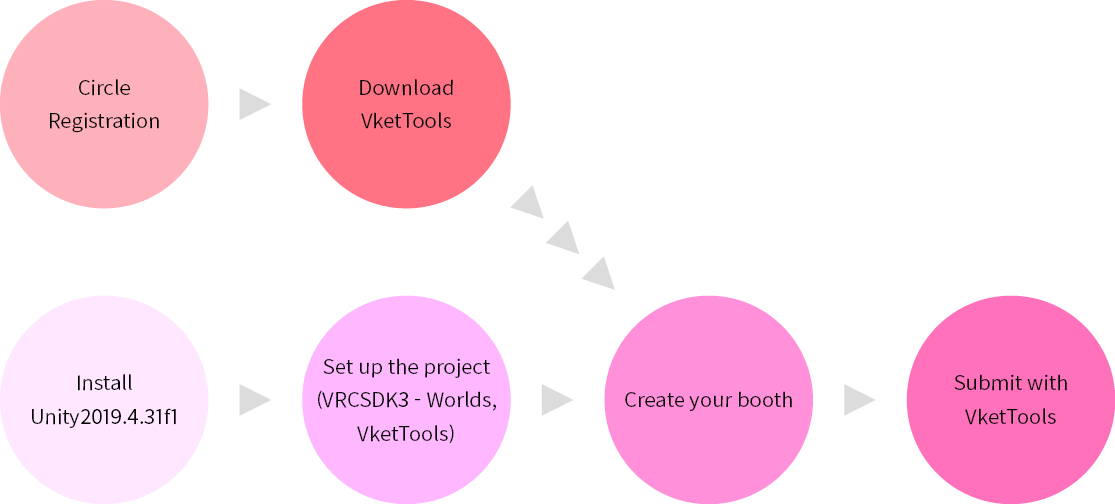
Below is the rundown of the process.
【Website】
- Circle Registration
- Download VketTools
【Unity】
- Install Unity 2019.4.31f1
- Set up the project (VRCSDK3 - Worlds, VketTools)
- Create your space
- Submit using VketTools that are downloadable from the My Page
When creating your space, you may utilize the official distribution package. If you wish to include sounds, videos, or gimmicks into your space, please consider using the official prefabs.
If you have any questions, please refer to the FAQ for exhibitors. If your trouble is still not resolved, please feel free to post questions at Virtual Market Discord or send an inquiry from the contact form. Also, we provide Submission Tips as a part of technical support.
The Submission period starts from (JST) October 26 12:00 noon, (UTC) October 26 3:00 am, (Eastern) October 25 11:00 pm and ends at (JST) November 22 11:59 pm, (UTC) November 22 2:59 pm, (Eastern) November 22 9:59 am. During this period, you can actually visit the world and see how your submitted space will look in the world.
Now, in this article, we will explain from the very beginning of downloading the VketTools from your Mypage and setting up on Unity.
Website
Circle Registration
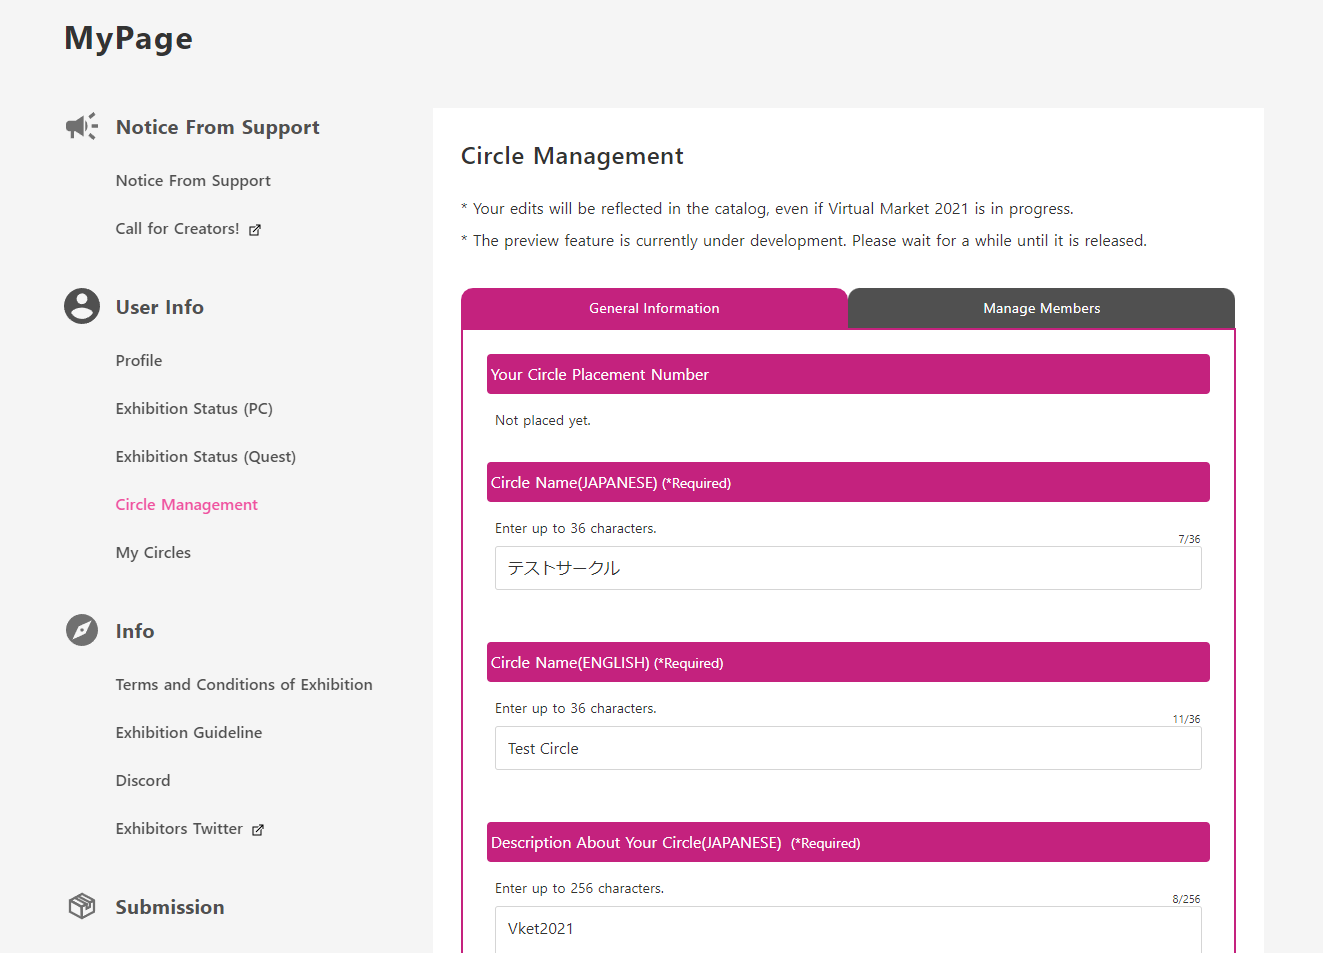
In the Mypage that you can log in to enter from the top right corner of the website, you will find the "Circle Management" page in "User Info."
Here you can open the "General Information" page where you can input your exhibitor group name and description. The input text and contents will be displayed on the catalog page that will be released before the event.
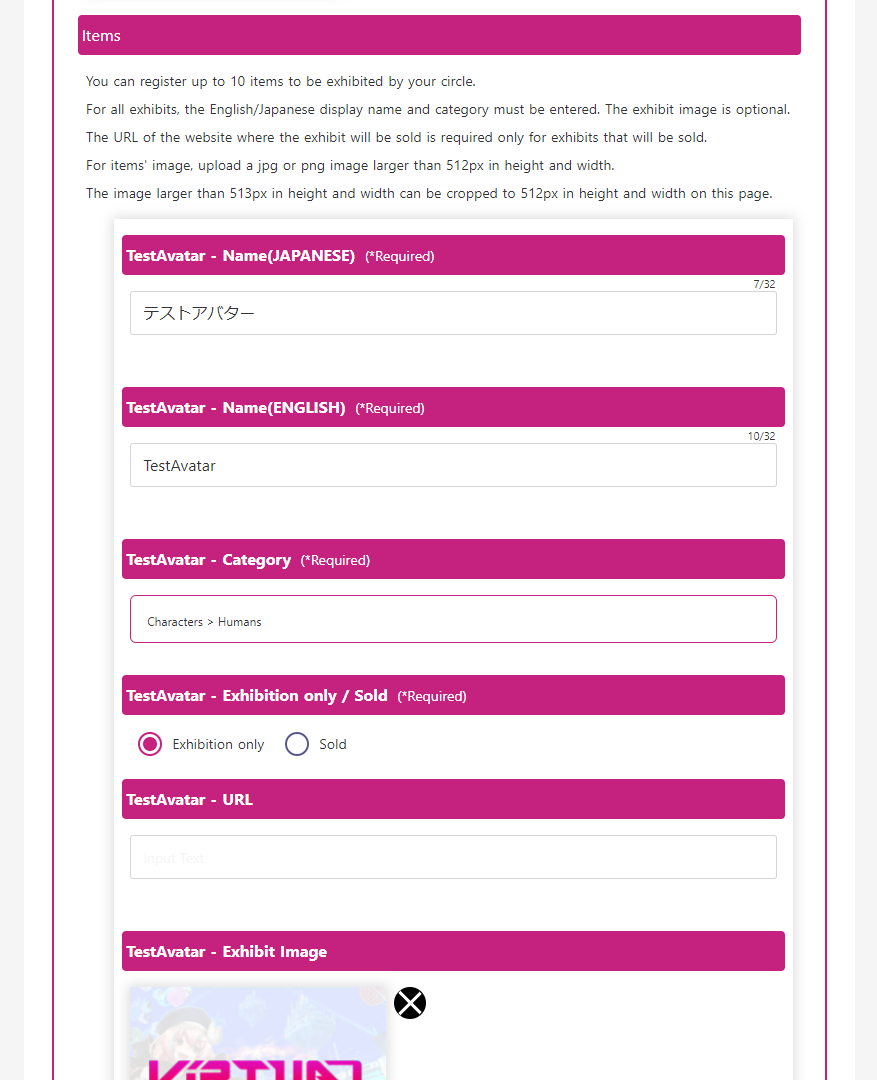
From "Add Items" on the bottom, you can register up to 10 exhibit items that will be shown in the catalog.
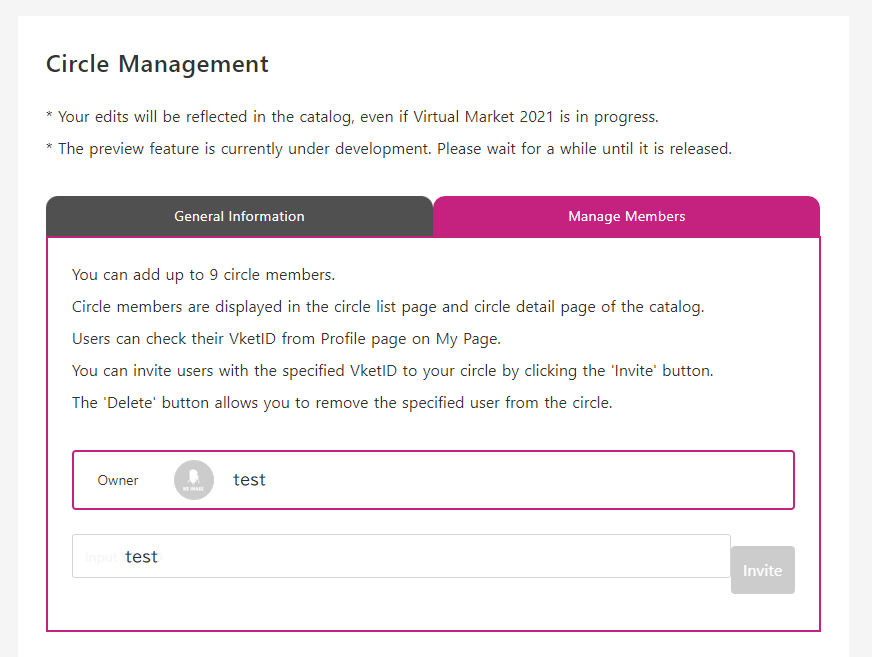
Furthermore, if your exhibitor group consists of multiple members, you can register exhibitor members from the "Manage Members" tab on the right. Firstly the member to be registered needs to set up his/her own Vket Account and log in to Vket2021 website. Then, the exhibitor account may input the registrar's Vket ID from "Manage Members" and "Invite." The member will see the invitation on the "My Circles" page. (S)he can join the circle (exhibitor group) by accepting the invitation. Thereafter, the member will have his/her name show up in the catalog and have access to all functionalities of VketTools other than submission. Please utilize this feature when you are making your space with multiple members.
VketTools download
Once the circle registration is complete, you will see "Download VketTools" link in "Submission" column on the left side of Mypage. From here you can download the tool necessary for your submission. As you now have the Tools, let's move on to set up the Unity project.

Unity
1. Installing Unity2019.4.31f1
Firstly, please download and install the Unity Hub. Then you can install version 2019.4.31f1 of Unity by opening the URL below.
unityhub://2019.4.31f1/bd5abf232a62
Once finished, you should be able to see 2019.4.31f1 added to the "Installs" tab.

2. Set up the project (VRCSDK3 - Worlds、VketTools)
2-1. Create a project for Submission
Now, create the project file.
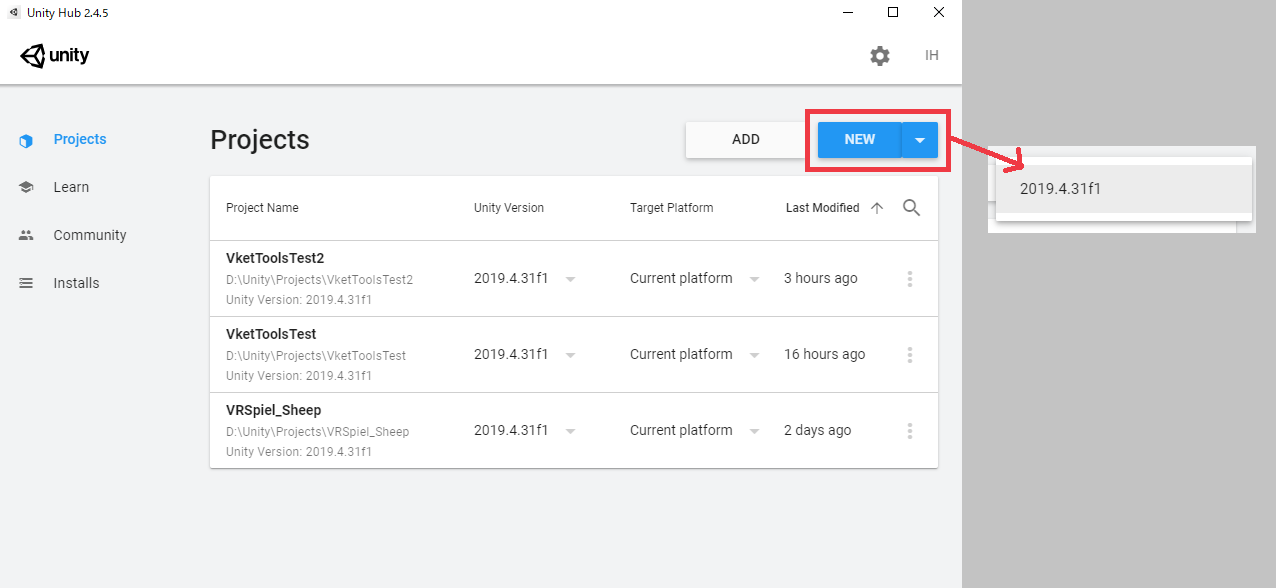
On UnityHub, choose the blue "New" button from the "Projects" window and select version 2019.4.31f1.
You may only use alphabets and numbers for project name and project file location. Do not use double bytes characters.
Choose "3D" for the template, enter the Project name and the destination folder, and click Create.

2-2. Import the VRCSDK
Thereafter, you need to import the VRChat SDK3 into the project.
Open VRChat website from VRChat and log in to your account from the top right button.
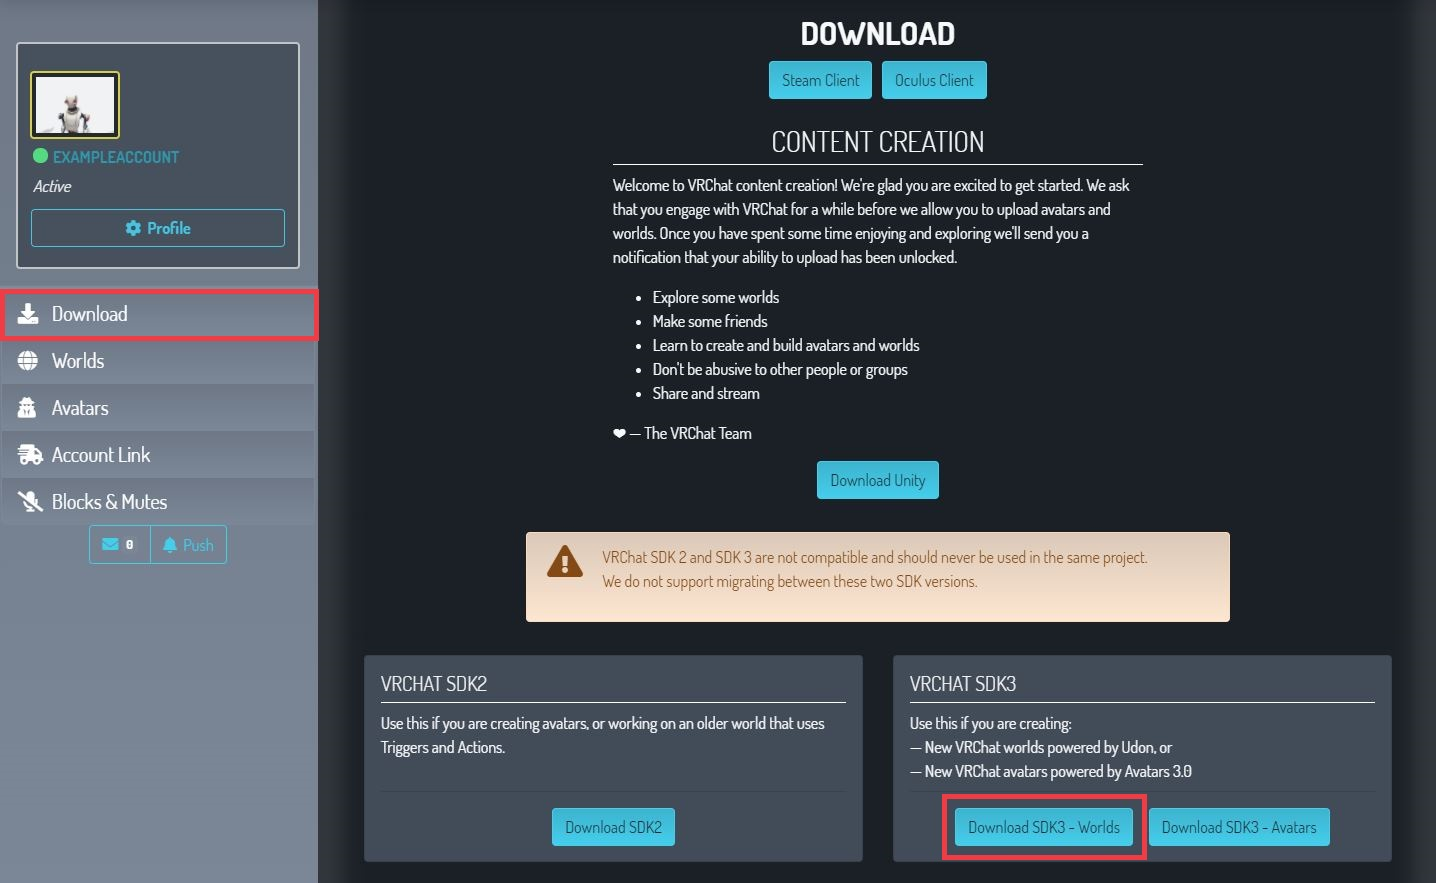
There you will see the home page as below. Select "Download" from the left column. In "VRChat SDK3," click "DownloadSDK3- Worlds" to download the latest SDK3.
You may submit with both VRCSDK3-WORLD-2021.09.30.16.18_Public and VRCSDK3-WORLD-2021.11.08.14.28_Public.
Then, in Unity, click "Import Package", "Custom Package...", and select the downloaded unitypackage to import.

2-3. Import the VketTools
Finally, let's introduce the "VketTools" that will be used for submission. This package also provides official distribution Prefabs and official shader packs.
VketTools is available at the Mypage. Just like you've done for the VRCSDK, import it on the Unity.
2-4. Project setting for Vket2021/VketMall
When you open a new Unity Project you will see the SampleScene being open.
From the Project view, open the VRChat Examples/Prefabs2 folder and drag and drop the VRCWorld Prefab to the Hierarchy.

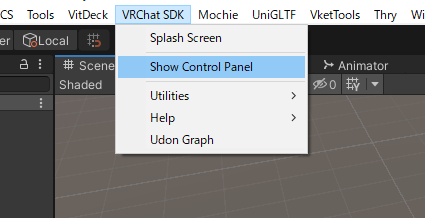
Open VRChat SDK/Show Control Panel from the top menu and login with your VRChat account.
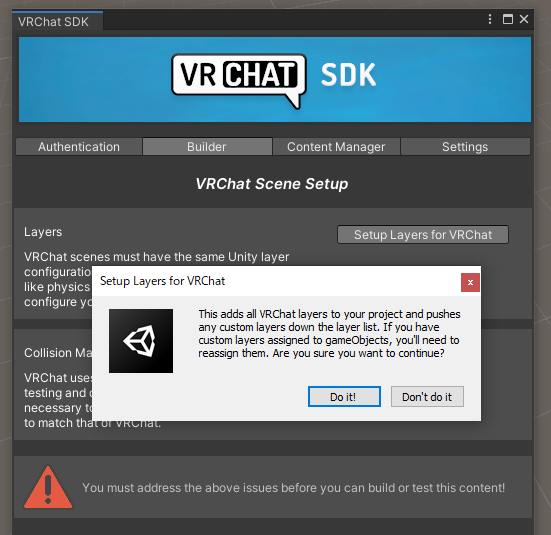
Switch to the Builder tab and click on Setup Layers for VRChat
Select Do it! on the confirmation window.
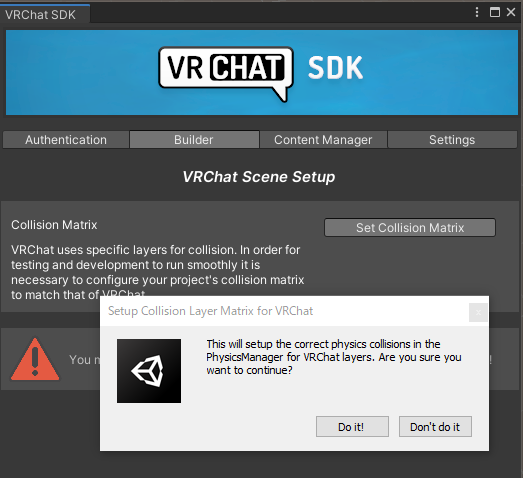
Next, click on Set Collision Matrix
Select Do it! again on the confirmation window.
This completes the Project Setting. The Scene file "SampleScene" won't be used anymore, so you don't need to save it.
3. Constructing your space
3-1. Login to VketTools
Now that the project is ready, let's download the necessary assets and create the scene for space production.
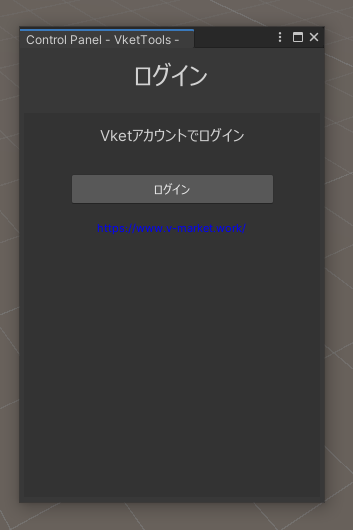
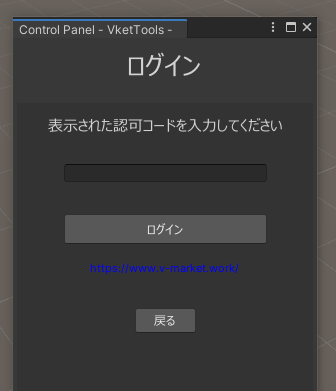
Open the VketTools/Control Panel from the Unity menu. The login window will open up. Click on the Login button.
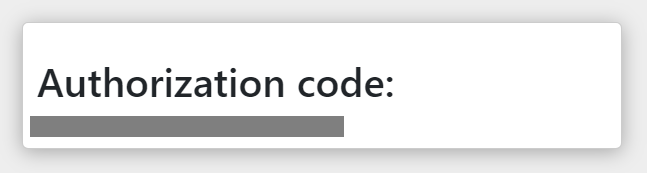
At first login, you will see a webpage with your authorization code. Copy the code, paste it in the form, and click “login”.
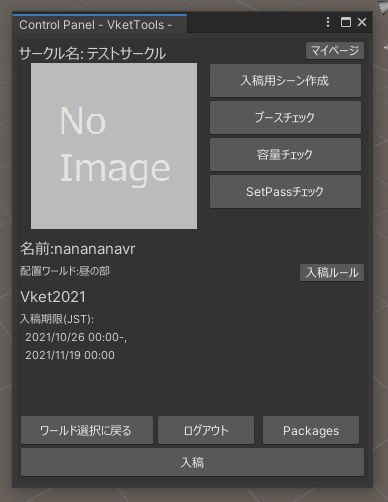
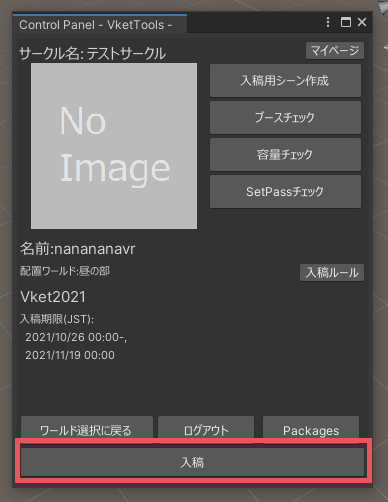
If the login is successful, you will see the Control Panel like below.
3-2. Import official assets
After successfully logging in, import the official assets including Prefabs from the Packages at the bottom right of Control Panel.
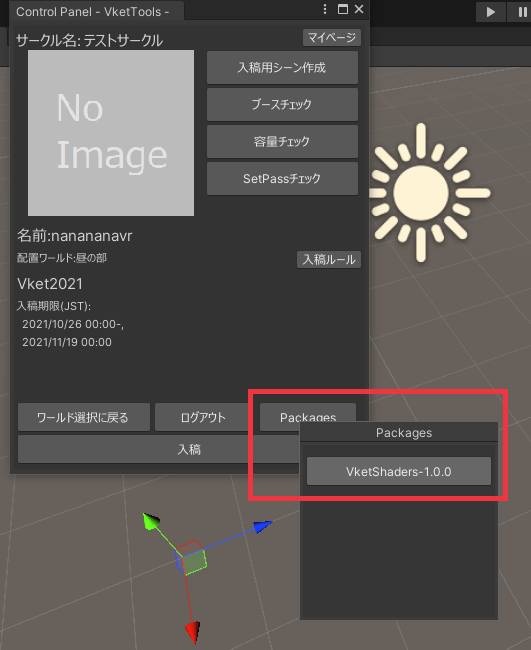
Once downloaded, please import them in the Unity just as you've done for the VRCSDK.
3-3. Creating the Submission Scene
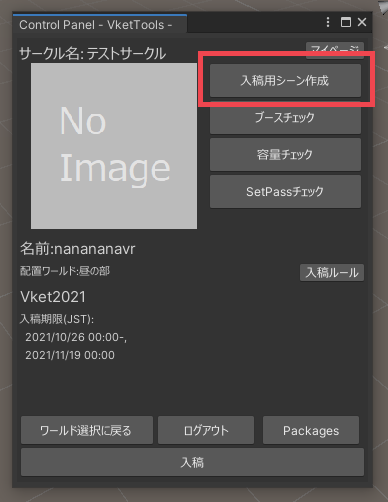
From VketTools' Control Panel, click on Create Submission Scene
You will see the VitDeck window. Click on Load.
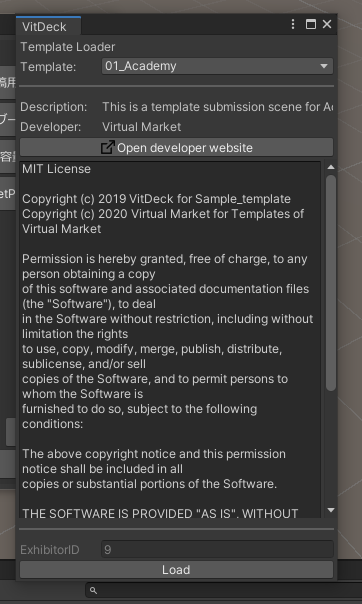
A folder and a scene file for your submission will be generated directly under the Assets folder.

Double-click and open the generated scene file (on the example picture, it's the file labeled 3) A scene for the submission will open up.
3-4. space creation
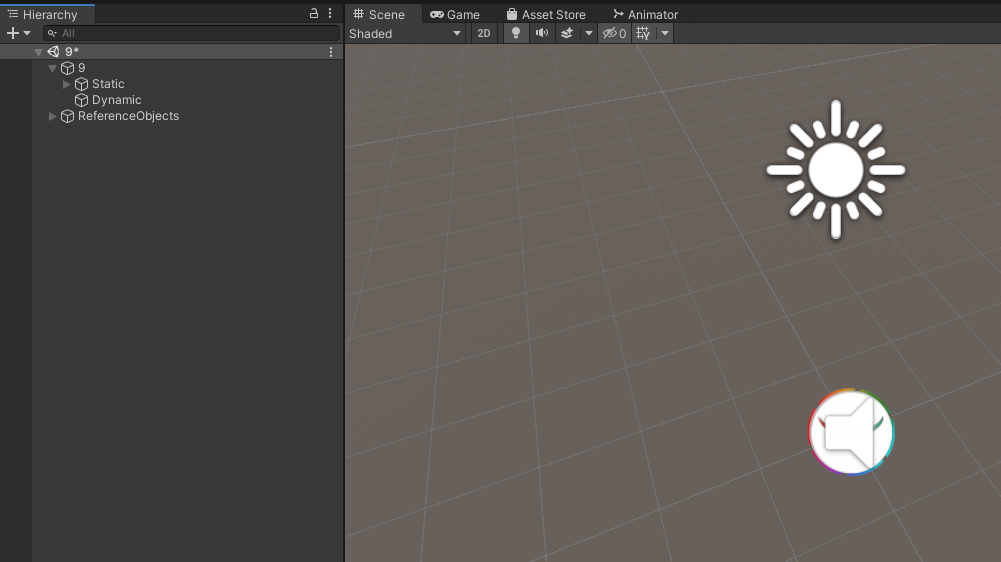
As per the Submission Rule's "Scene Structure and Hierarchy Settings", the submission Scene's hierarchy will be set up as follows. Static is removed in the case of Avatar Carousel.
- (Exhibitor's ID)
- Static
- Dynamic
- Reference Object ←This contains the lighting settings similar to the lighting condition in the venue.
The Objects you'll be exhibiting should be placed inside either Static or Dynamic as the child Object. All movable and controllable Objects need to be inside Dynamic, while immovable ones should be in the Static
【Note】
In the Vket2021 submission scene the lighting environment is not set similar to the venue world.
To check how your space will look in the venue including the lighting, please visit the Preview World.
3-5. Official distribution packages
From the VketTools you can install "VketPrefabs" that are useful for space creation. For example, “VketAvatarPedestal”, one of the “VketPrefabs”, are packaged in the following way.
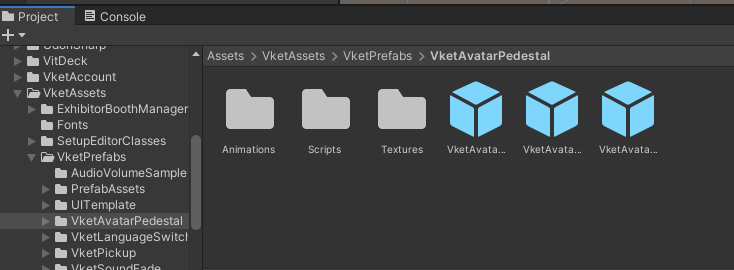
We will go over each Prefab in it.
Vket Avatar Pedestal
This Avatar Pedestal will show confirmation dialog.
By interacting with the dialog again, users can change into the avatar.
We provide below 3 kinds of it.
- Default:A pedestal where the avatar image will look shimmering. The same appearance as the one packaged in the VRCSDK.
- 2D:You can set any images you like. Unlike the Default, it won’t shimmer.
- 3D:You can use a 3D model as its appearance.
Details→ VketAvatarPedestal
Vket Video Player
This VideoPlayer will play a video upon Interact or Player’s entry to the space (OnEnterTrigger).
The Collider of the Trigger will be set by the Vket Organizers. You may not modify the Collider.
Limitation: only 1 per 1 space can be used.
Details→ VketVideoPlayer
Vket Pickup
This Pickup lets one hold the object in hand. The object will return to the original location if nobody touches the object for 30 seconds. The player can bring the object outside of the space by moving while holding the object.
Details→ VketPickup
VketFollowPickup
In addition to VketPickup, this Pickup allows you to equip the object on the head or other parts.
i.e. Equip a hat on the head. The hat will follow the head even after letting the hands go. * VketFollowPickup does not follow players in Desktop Mode.
Details→ VketFollowPickup
Vket Sound Fade
This sound player will play a sound upon Interact or Player’s entry to the space (OnEnterTrigger).
Simultaneously, the prefab will fade out the world BGM.
Details→ VketSoundFade
Vket Language Switch
This Switcher will enable/disable specified objects in the space by Interact.
This will be used to switch English notations and Japanese notations.
Details→ VketLanguageSwitcher
Vket Interact Trigger/Vket Onspace Trigger
Like the Trigger in the VRCSDK2, it will run an action upon Interact.
You may choose to run several of the below actions.
You may choose local or Sync, though the status may not be synced with players joining the world later.
Details→ Vket Interact Trigger / Vket Onspace Trigger
Vket Web Page Opener
The Prefab will show confirmation dialog upon Interact and, when interacted again, open a webpage in the Player’s browser.
Since it is a special functionality, the Prefab will only work with Vket worlds during the event periods.
Details→ VketWebPageOpener
UI Template
This is the set of templates to show images with uGUI or create functional buttons inside VRChat easily. Please make good use of them if necessary.
3-6. Check your space using VketTools
You can check whether your space is in line with the Submission Rules by using the Check buttons on the Control Panel.
The same Check process will still be required when submitting. Please use this function to perform the checks on the work-in-progress space.


4. Submit using VketTools
4-1. Submit your space with VketTools
Clicking Submission on the Control Panel will begin the submission process for the current Scene content.
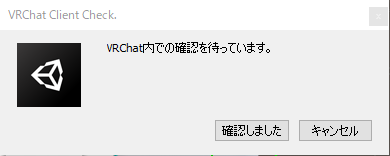
Once the submission starts, various checks will be performed in eight steps, as shown below. The VRChat client will be launched and build your Submission Scene into a world. Please check if all the space functions are working correctly.
After confirming everything, click on the Confirmed button to continue the process.
After the Rule Check and Build Size Check, the Screenshot Capture window will open. Please click the Capture button to take a screenshot.

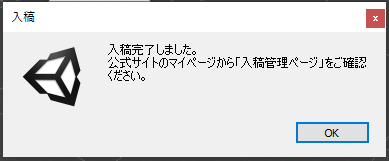
If you see Submission complete after clicking OK, your submission is completed successfully.
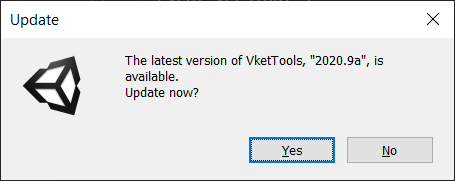
4-2. About VketTools' Updates
In case new versions of VketTools are released in the future for patches or other reasons, you'll be prompted to update with a dialog. Note that you can only submit with the latest version.