How to Use Atlas Tool
Introduction
Texture atlas tool complete inside Unity
is sold by Mr. Mitamura on Booth.
This is a tool for generating texture atlas.This webpage explains how to combine materials using texture atlas.The following information is for Unity 2019.4.31f1 (as of October 21, 2021).
URL
Texture atlas tool complete inside Unity
(NOT FREE)
Texture atlas tool complete inside Unity
The tool to make texture atlas is アトラス化する奴(ver.2.2.0)
(Atlas tool(ver.2.2.0)
).Below explains how to use it based on ver.2.2.0.
Important notes
What you can do with this tool
- A. Combine multiple textures into one and reflect the changed UVs to the original mesh
- UV1 (original) is changed and UV2 (added one) is simply copied from the original mesh
- Combine the textures into one without changing the mesh. (Useful for combining a mask texture rather than main texture etc.)
What you cannot do with this tool
- Combine multiple meshes into one. (Sold separately as 『メッシュを結合する奴』(or
Mesh combiner
)) - Combine materials. (Material must be set after making texture atlas.)
This tool modifies some pre-join objects
- It is a good practice to take a backup of the GameObject before combining them. It changes the Mesh property value of MeshRenderer / SkinnedMeshRenderer.
- FBX etc.(Mesh and Texture) does not change anything before combining. This tool will output a new combined file.
Procedures
A. Combine multiple textures into one and reflect the changed UVs on the original mesh
A-1. Duplicate MeshRenderer / SkinnedMeshRenderer
that contains the texture to combine
Duplicate your GameObject first before Atlasing.You can either use the duplicated object or use the original object for the following process.
You can also choose not to make any backups although it isn't recommended.
Hierarchy looks like this. BoothWall is the original object and BoothWall (1) is the duplicated one.

A-2. Open Tool Window
Open the tool and followGameObject tab → Naya_Tools → Utility → atlas tool

You will see below window.

A-3. Basic Settings for the object to process.
Name the output texture file appropriately and specify the object duplicated in step A-1 as the object to process.You don't need to specify base texture initially.
From ver.2.1.0, you can also choose the output texture size. You may select from 4096(4K), 2048(2K), 1024(1K), and 512px, a great way to reduce texture data file size.

A-4. Texture arrangement

Adjust the value of Number of divisions x and y axis. It is good to use with Choose the size one by one. The screen below is the result after textures lined up.

A-5. Sub mesh (≒ material type) setting
The texture that has the same pull-down numbers on the left side will be output as the same submesh.Therefore, set the same number for each texture that you plan to use as the same material.

In this procedure example, we have set 0 for opaque and 1 for translucent material.
For materials with no texture attached.
Also, if no texture is applied to the material (e.g., only the material color is applied), a single color of the material color may be placed.
A-6. Process
Click the Add
button and the the tool will process the image according to the settings. The process takes about 10 seconds.

Texture is output to Assets / Naya_Tools / Utility / atlas.

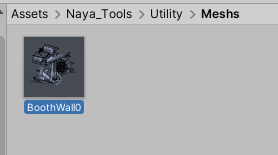
Mesh file is output to Assets / Naya_Tools / Utility / Meshs
These generated files are needed for submission. Move them to your submission folder.The processed GameObject's Mesh property is changed to the generated mesh file.
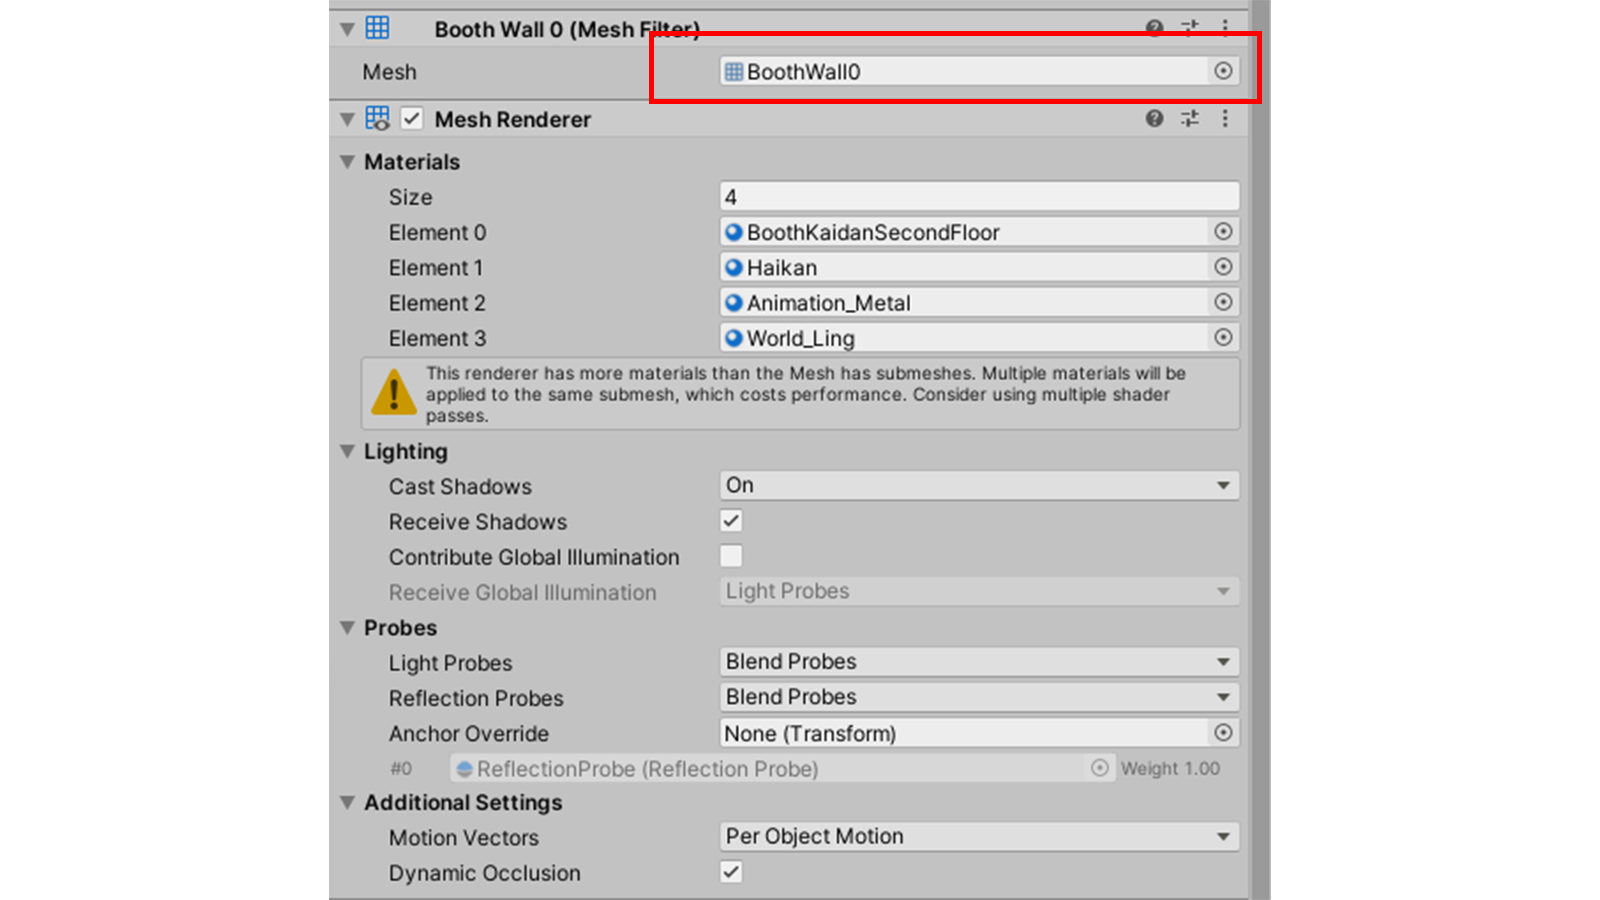
A-7. Material sort out
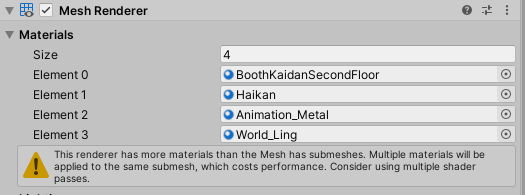
The value of Materials is not changed by the tool. The material and mesh don't match after processing because the mesh files are organized as specified in step A-5.
Change the size and set the material again. Better to duplicate the original material and set the atlas material.
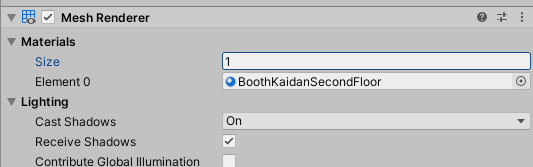
Specify atlas texture for the material after making an atlas. The UVs on the mesh are already converted, so once you specify the atlas texture it should match the UVs on the mesh and the texture, and it should look correct.

That's all!